Fish plank. ©Cooksinfo / 2019.
A fish plank is a board for cooking a fish on over a grill.
Meats or vegetables can be cooked on a fish plank as well, or really, anything that benefits from the low and slow cooking, around 120 C (250 F ), that indirect heat can provide. Don’t use plank cooking for things like steak or chops — they need fast cooking, and benefit from grill marks on them.
Many say that plank cooking makes cooking a fish much easier, as you don’t flip fish that is being cooked on a plank.
Wood for Fish Planks
The first question that usually arises is what type of wood to use. Red cedar and alder are good, as are oak, maple, cherry or apple. Never use pine, though.
The key thing is that the wood must not have been treated with chemicals; you must be certain of this. You can get food-grade certified planks at stores, but they will be more expensive.
Experienced plank cookers source their wood at lumber stores. At lumber stores, you must ask for untreated wood. If the staff at the lumber store aren’t knowledgeable and can’t tell you for sure, don’t take a chance. Note that they may not want to say for sure, for legal reasons.
The planks should 1 cm to 2 ½ cm (be ½ to 1 inch) thick and at least 15 cm (6 inches) wide. A 2 metre (6 foot) long piece of 30 cm (6 inch) wide cedar can be cut into about 12 planks. Wider boards (20 to 25 cm / 8 to 10 inches) may be more flexible in terms of the size of pieces of meat or fish that can go on them.
Soaking the Fish Plank
Some people say to soak your plank before use in water for 30 minutes for fish; 60 minutes for meat. You can soak longer than an hour, if you have time. In fact, pros advise 4 hours of soaking, and that the minimum is 1 hour. Some sellers of food grade planks advise to soak theirs 4 to 24 hours, and even provide special “sanitary” bags to do the soaking in. The soaking helps both to stop the plank from catching on fire, and to create a humid cooking environment.
Cedar should be very well soaked, so that it smokes as little as possible, because burning cedar can produce tars and creosote. Some people hate the smell, and won’t use cedar no matter how long it has been soaked, saying that to them cooking on cedar smells like a clothes chest on fire. Others say that they’re using the wrong cedar; red cedar gives off a sweet, aromatic smoke that they love.
Some hard-core plank cookers like to soak the boards in a flavouring liquid, rather than just plain tap water. They’ll use liquids such as beer, apple juice, white wine, pineapple juice, cranberry juice, etc. You use a 1 to 1 ratio of flavouring liquid to water for your soaking mix. But, you’ll need to soak the plank for a minimum of 4 hours so the flavour actually gets in, to make your efforts worthwhile. And you’ll need to find something small to soak it in so that you’re not spending a fortune to fill a kitchen sink up with wine that is just going to go down the drain.
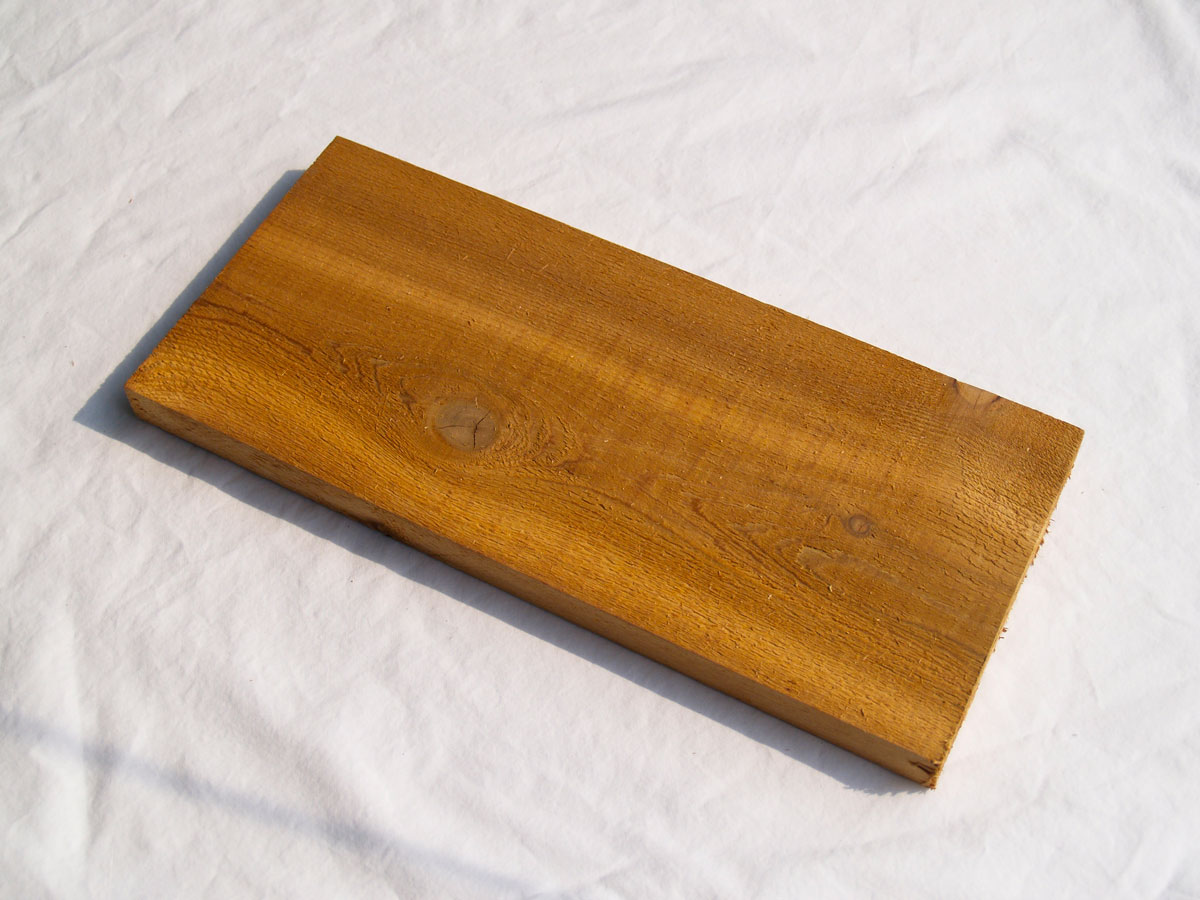
Red Cedar Fish Plank. ©Denzil Green / 2006.
The Actual Cooking
Pros say disregard any advice about brushing the planks with olive oil just before using on a grill; they say if you do, you’re just encouraging the board to catch on fire. You’ll be having wood, over an open flame, and you’re being told to add oil as well?
Put the plank on by itself first to heat it. You put the plank on the grill, not directly on the burners or the coals, and you will be cooking with the rough side of the plank facing down.
Once the plank begins to smoke, turn the burner under the plank off. You want the wood to smoulder, but you’re not making a bonfire here. Then place your food on the plank. If you are cooking fish, place the fish on the plank skin side down. No part of the fish should be hanging over the edge of the plank.
Plan on the cooking time to be about 50% longer than usual, as the food is getting indirect heat. While cooking, open the lid as little as possible to preserve a warm, moist environment. If you sense the board is catching on fire, you will need to deal with that, however. A squirt bottle filled with water can be used to douse any fires that break out on the plank. (Pros advise to have one ready as part of your standard equipment.)
When the food is cooked, you can put on oven mitts and remove the plank, food and all, or use a flipper to slide the food item off the plank onto a serving plate. If the grill is going to be continue being turned on for other things, get the plank off there so it doesn’t burn and create ash to fall down into the grill (if you are using charcoal, this is not a concern.) The underside of the plank will have red hot embers on it, so be sure you have planned in advance where you are going to put it — not on top of anything else flammable, like wood decking or someone’s tablecloth. Some keep a bucket of water handy to plop the planks into.
Fish Plank Re-use
You can re-use the planks again in the future. You can get two or three uses out of a plank if it’s a thick one (thin ones you won’t.) Don’t re-use planks which are totally charred on the bottom and sides; they won’t absorb enough water, and don’t re-use a plank if it has split or warped on you.
For cleaning for re-use, scrub the board off in hot, soapy water, rinse well with a brush, and allow to dry. There is no need to worry overly about bacteria in re-use, as the plank will be going back over a fire the next time you use it anyway, and have its heat-up period there, too.
Some say you can get even more uses out of a plank if you put tin foil below it, though others counter that without the charring happening at the bottom of the board, you aren’t getting the same taste in the food, that you might as well take the food inside and throw it in the microwave.
Fish Planks in Ovens
You can also do plank cooking indoors in an oven. For oven cooking, you don’t soak them first. Brush a tablespoon of oil onto the cooking side (it’s safe to do so, as it’s not going over a flaming grill), and put the plank in the oven to heat for about 15 minutes, then put the food item on top of it, and cook.
Planks that only see oven use can be re-used many times. Use hot, soapy water to scrub clean them with, and then rinse well. Lightly oil just before each use, and periodically sand them down.
Sources
Apalategui, Eric. Making Cedar or Alder Planks for Grill or Oven: Save Money at the Lumber Yard Instead of Buying Packaged Wood. Suite101.com. Retrieved January 2010 from http://seasonalcooking.suite101.com/article.cfm/making_cedar_or_alder_planks_for_grill_or_oven.
Reader, Ted. Napoleon’s Everyday Gourmet Plank Grilling. Toronto: Key Porter Books. 2009.