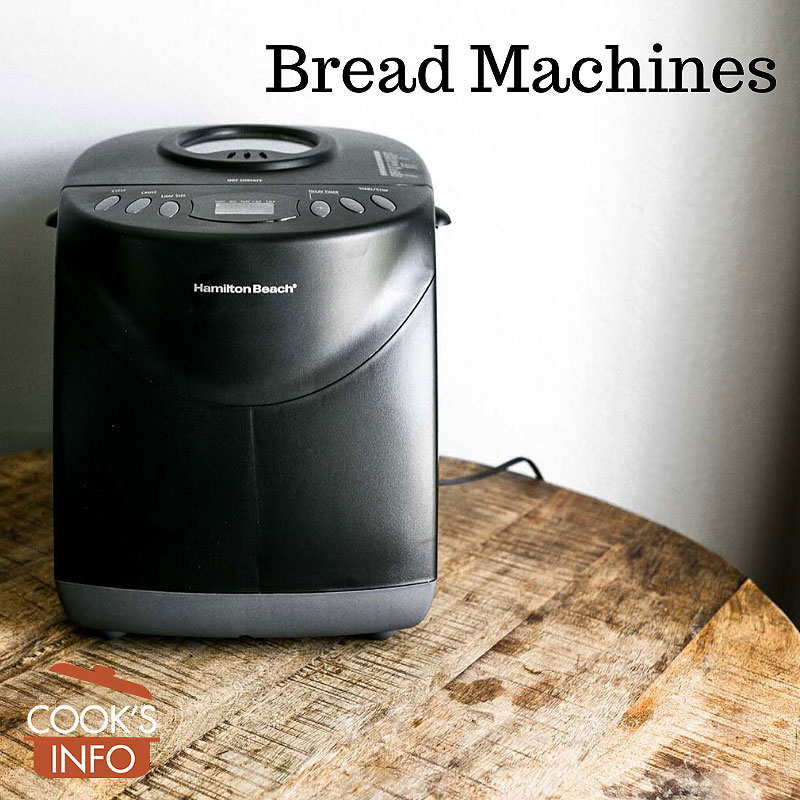
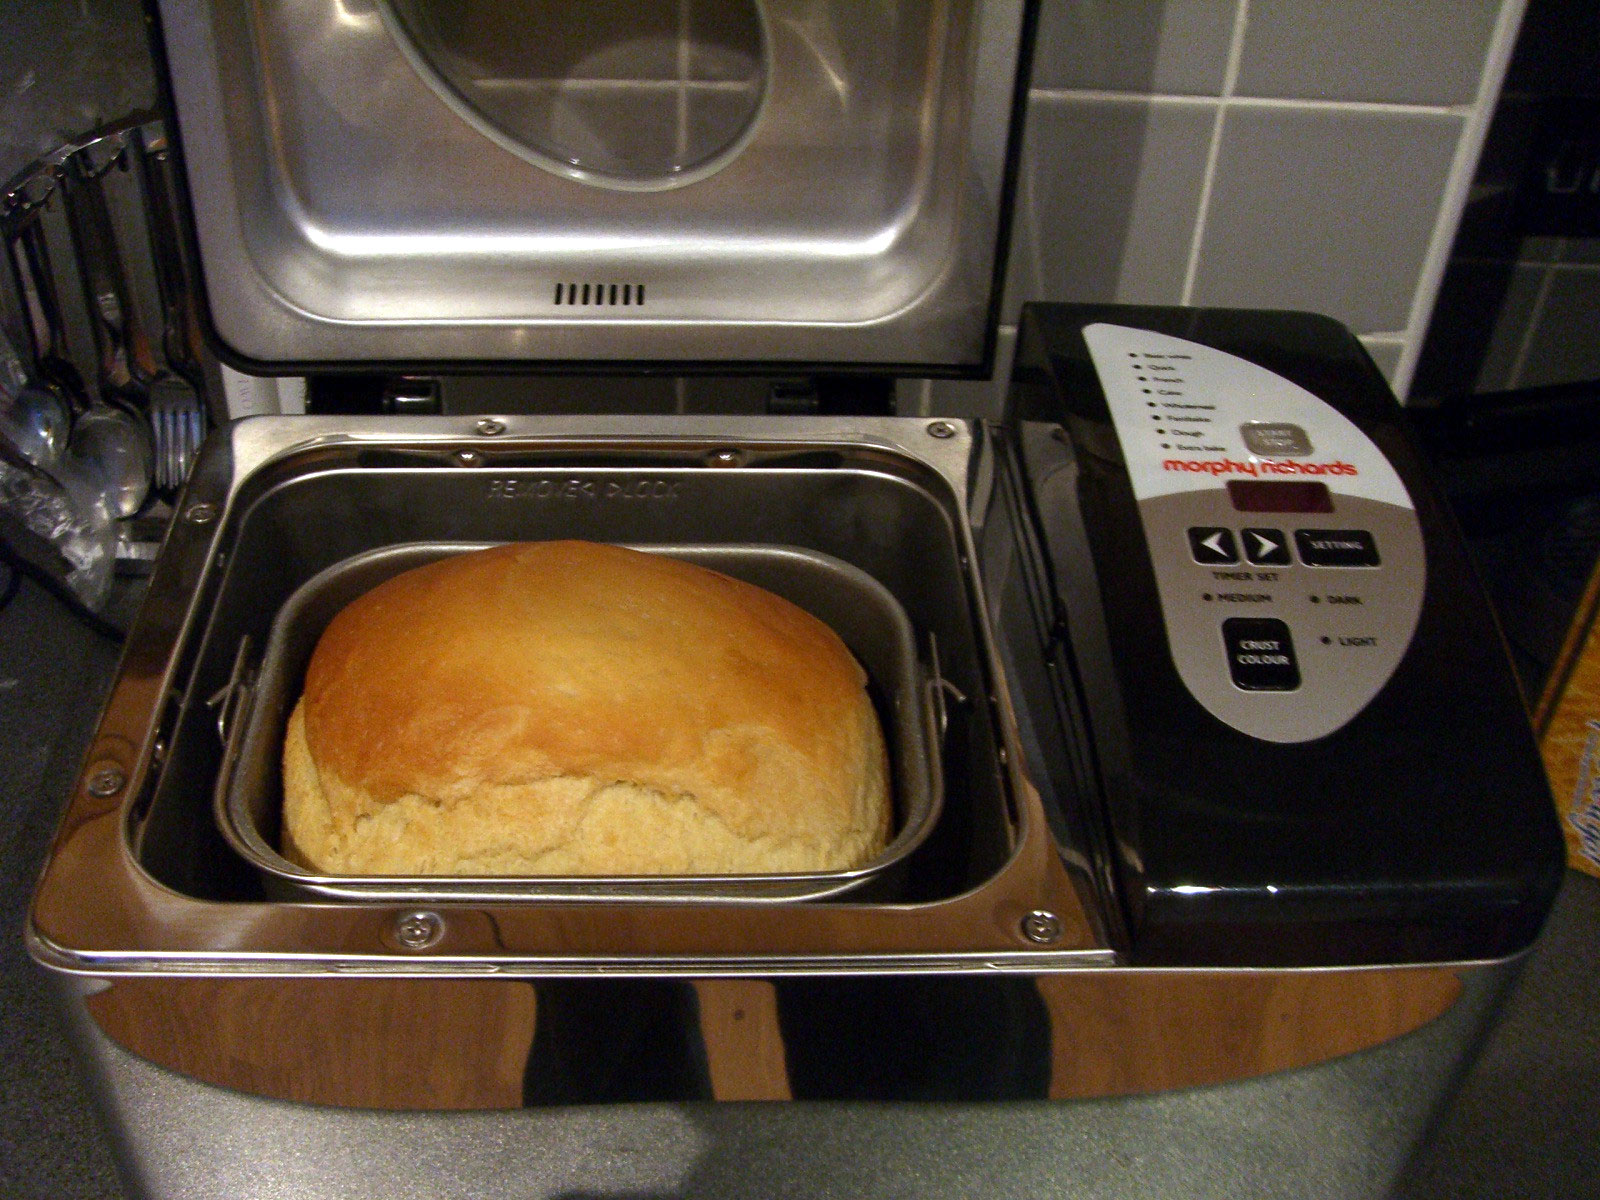
Bread machine. www.yourbestdigs.com / flickr / 2018
Bread machines (in the home-use sense) are small, electronic counter-top appliances in which the raw ingredients for a loaf of bread are mixed and baked and which, after a relatively short period of time, turn out a loaf of bread with no additional manual work required from the user.
Most bread machines come with special instructions for use at high altitudes.
- 1 Bread machine opinions
- 2 Dual-paddle bread machines
- 3 The raisin beep
- 4 Pre-warming cycle
- 5 Working with the bread machine dough setting
- 6 The hole issue
- 7 The black oil issue
- 8 Non-iodized salt can improve bread dough performance
- 9 Converting manual recipes to bread machine recipes
- 10 Cooking Tips
- 11 Gifting bread machines
Bread machine opinions
There have been two prevailing views about the devices amongst foodies, neither very positive.
The first is that they’re not very good. This view dates from the very earliest bread machines in the 1980s. Both the machines, and our understanding of how to work with them, have come a long way since then.
The second is that bread machines are practically tools of the devil, a terrible cheat, and that the bread that comes out of them doesn’t taste as good as hand-kneaded bread.
The same people who will praise breads and bagels from commercial bakeries will dismiss as “fake bread” the bread machine’s product at home because a machine did the mixing. The plain fact, of course, is that their bakery breads were also mixed by machines. Even Roman bakeries used “machines”; large bowls made out of lava rock with paddles turned by asses, horses or slaves.
It seems that part of the negative attitude comes from wanting to imbue the process of breadmaking with a spiritual layer. Making bread, though, is just plain hard down-to-earth manual work. The women who had to make it daily in the first half of the 1900s gladly switched to supermarket bread as soon as they could afford it. Those who glorify it may have a rose-coloured view of the past, and probably would not have enjoyed other parts of the domestic past such as laundry day.
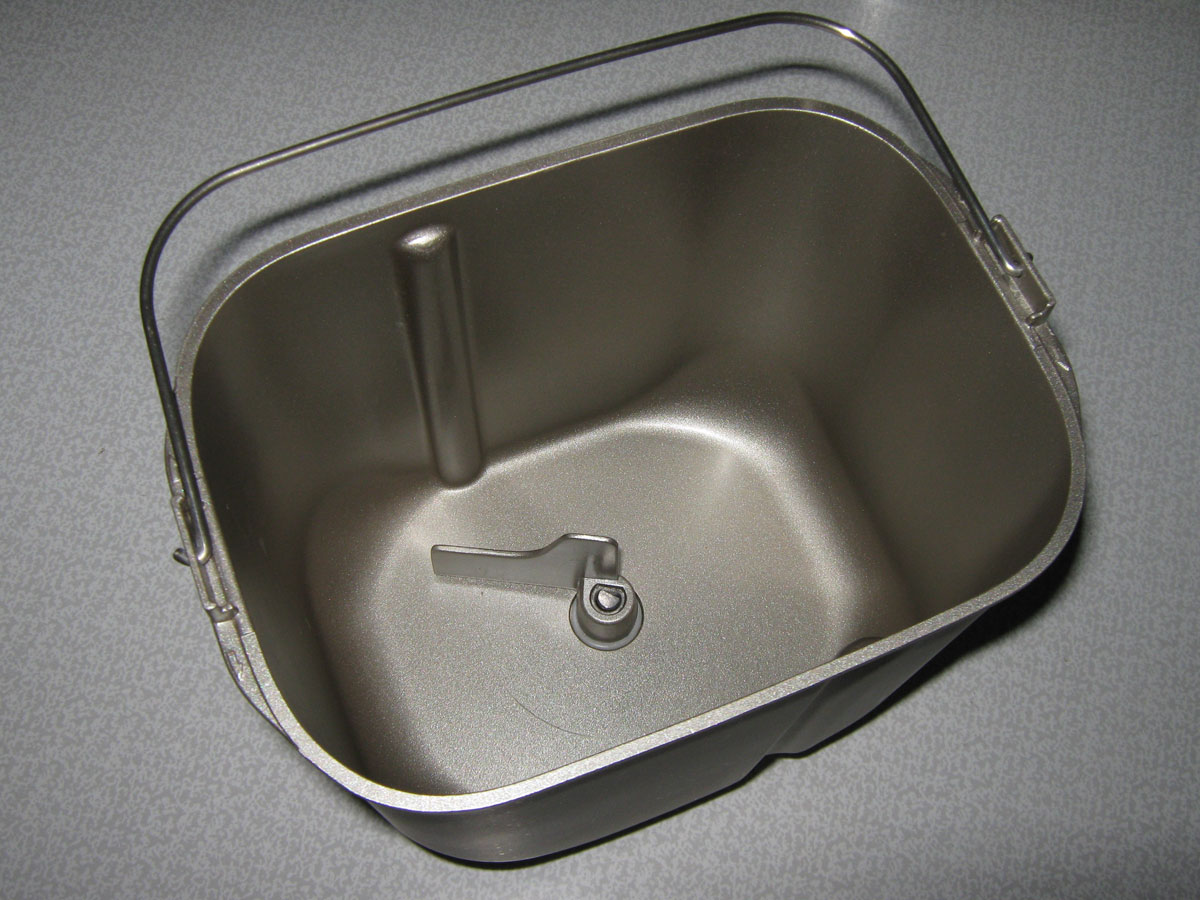
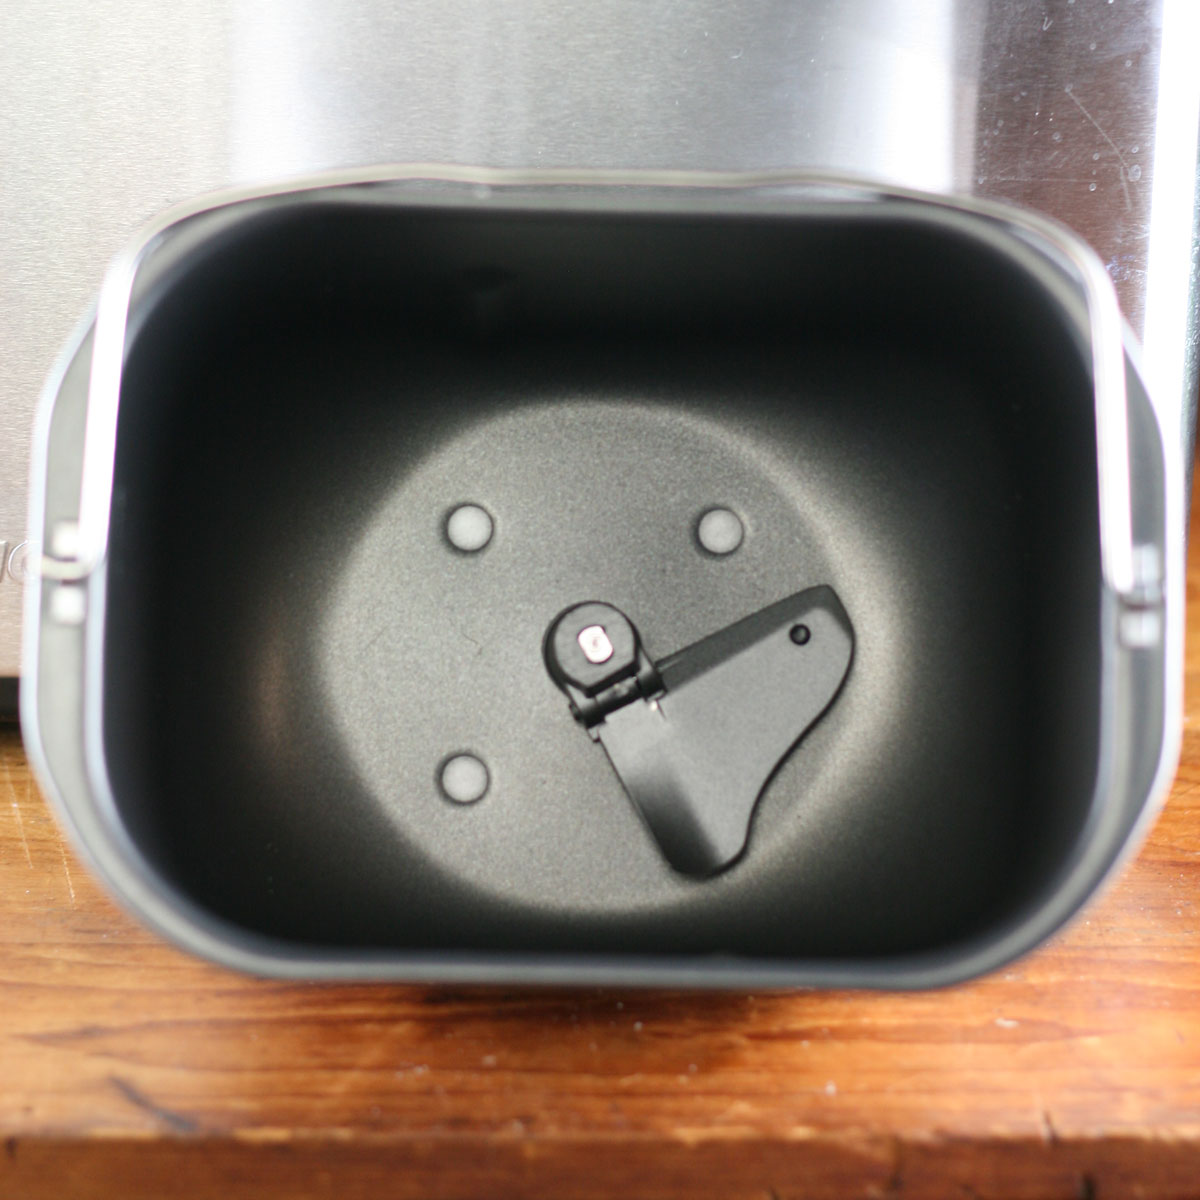
A typical bread machine pan. Shliphmash / wikimedia / 2010 / Public Domain
Dual-paddle bread machines
Some bread machine models come with two paddles in the bread pan. They are generally more expensive and therefore assumed generally to be better machines.
Some bread machine reviewers feel the dual-paddle (aka “two paddle”) models do a better job with heavier doughs: “The two paddle system does a very good job of kneading which is particularly important with whole wheat and gluten free recipes.” [1]Nubie, Steve. Zojirushi BB-CEC20 Bread Maker. 30 March 2015. Accessed January 2020 at https://www.breadmakermachines.com/zojirushi-bb-cec20-bread-maker-full-review/ Other reviewers counter that any concern about handling heavier whole-grain doughs may be one from the past, as most models now have the added horsepower to handle them: “If you expect to bake mostly with whole grains, look for a machine with increased horsepower so it can easily handle the heavier, healthier, whole grain flour. Most new machines can handle heavy dough” [2]Choosing a Bread Machine. Accessed January 2020 from https://www.breadmachinedigest.com/beginners/choosing-a-bread-machine.php
The dual-paddle machines tend to be better for those who will always be making larger loaves: “The other thing you need to keep in mind is that the dual kneading blade horizontal machines don’t do well with 1-pound (500 g) recipes. There simply isn’t enough dough for it to work right. If 1-pound recipes are what you want, go for a vertical 1-½ pound ( 75o g) machine.” [3]Ibid.
The raisin beep
Some bread machines have what is called a “raisin beep” on them. The beep indicates the point at which it is safe to add items such as raisins, other dried fruits, nuts, olives, etc, to your bread dough — safe meaning that the items won’t get mashed to a pulp and just disappear completely into the dough. The first phase of kneading in bread machines before this beep is quite rough and may simply purée or shred your special ingredients, resulting into them just disappearing completely into the dough.
Some machines have you come to the machine, and add the special items manually when you hear the beep. This can be problematic if you are not in the kitchen at the time, your mind is elsewhere, or if a radio or television is on too loudly. To solve this, other machines have a hopper at the top of the machine into which you load the special items at the start. The machine will automatically dispense the items into the dough for you at the correct time. Dry items such as nuts seem to usually pass through the chute successfully, but often people report sticker items such as raisins or dried fruits sticking together and not successfully making it out the chute into the dough below. To get around this, they recommend tossing all the special items in a very small amount of flour first just to dust them and prevent them sticking together.
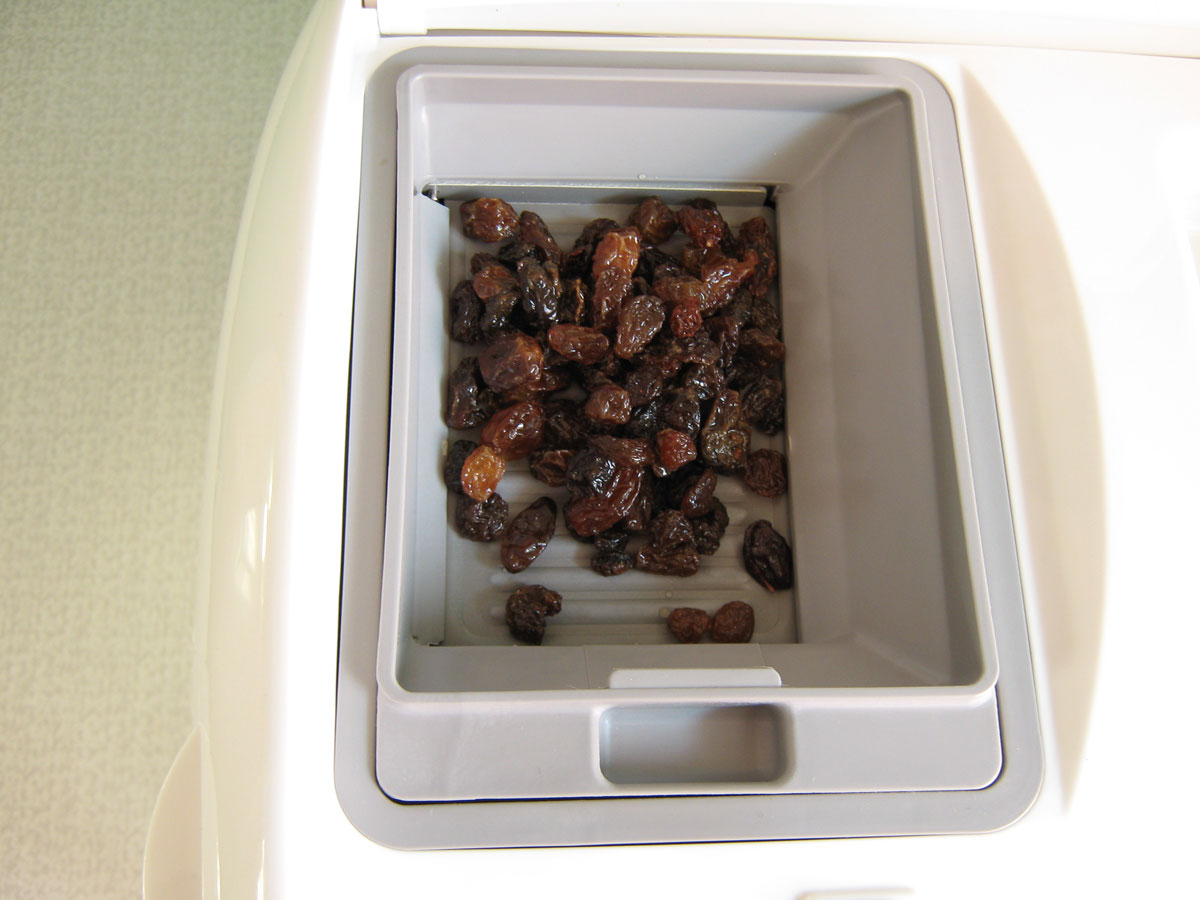
Fruit and nut hopper. Shliphmash / wikimedia / 2010 / Public Domain
Many bread machines don’t have either a raisin beep or a fruit and nut dispenser, and their owners often say they don’t miss the feature at all. And some who have the feature say they never use it.
Pre-warming cycle
Some machines have a built-in pre-warming phase added automatically onto the start of whatever menu option you choose. The reason given is that it allows you to use ingredients out of the fridge without having to take them out in advance to allow warm them up to room temperature.
Some bread machine users, however, regard such a feature as a nuisance and avoid machines with it. They say they’ve never noticed any issue putting in a few tablespoons of cold butter, but do resent the added forced wasted time at the start, and prefer machines that just begin mixing the minute the start button is pressed.
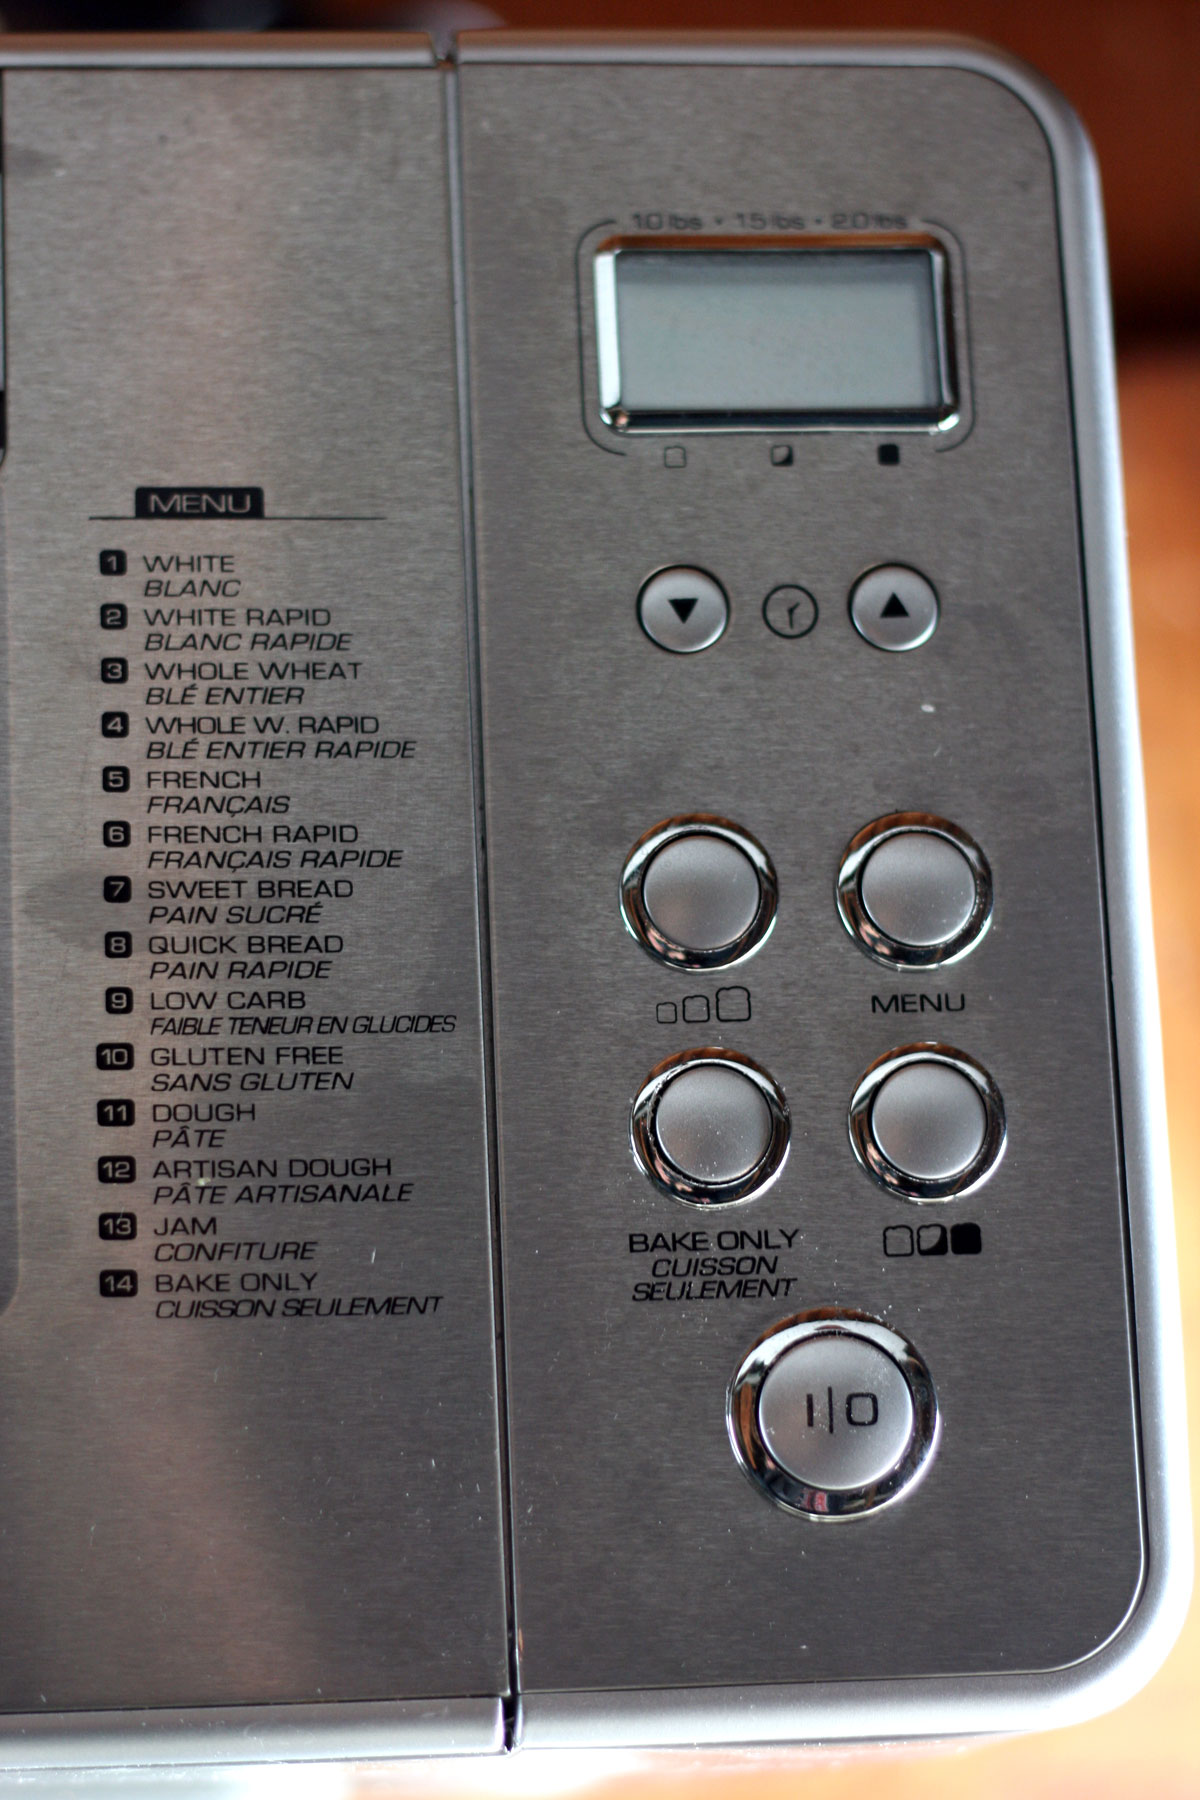
A bread machine control panel. They mostly offer similar choices. © CooksInfo / 2016
Working with the bread machine dough setting
All bread machines have a dough cycle that produces dough for you to remove from the machine, and bake outside the machine. Using the machine as a dough maker also allows you to create other products such as bread rolls, sweet buns, pizza dough, etc.
This also allows you to avoid the typical shapes of bread baked right in the bread machines, which can result in bread slice shapes and sizes which are less than optimal for lunch bag sandwiches, as well as holes in the bottom of loaves (discussed in a section further down this page.)
A few more expensive models have traditional, longer bread pans. These tend to be dual-paddle machines (see below.) But, these tend to be better if you are only ever going to make larger loaves of bread.
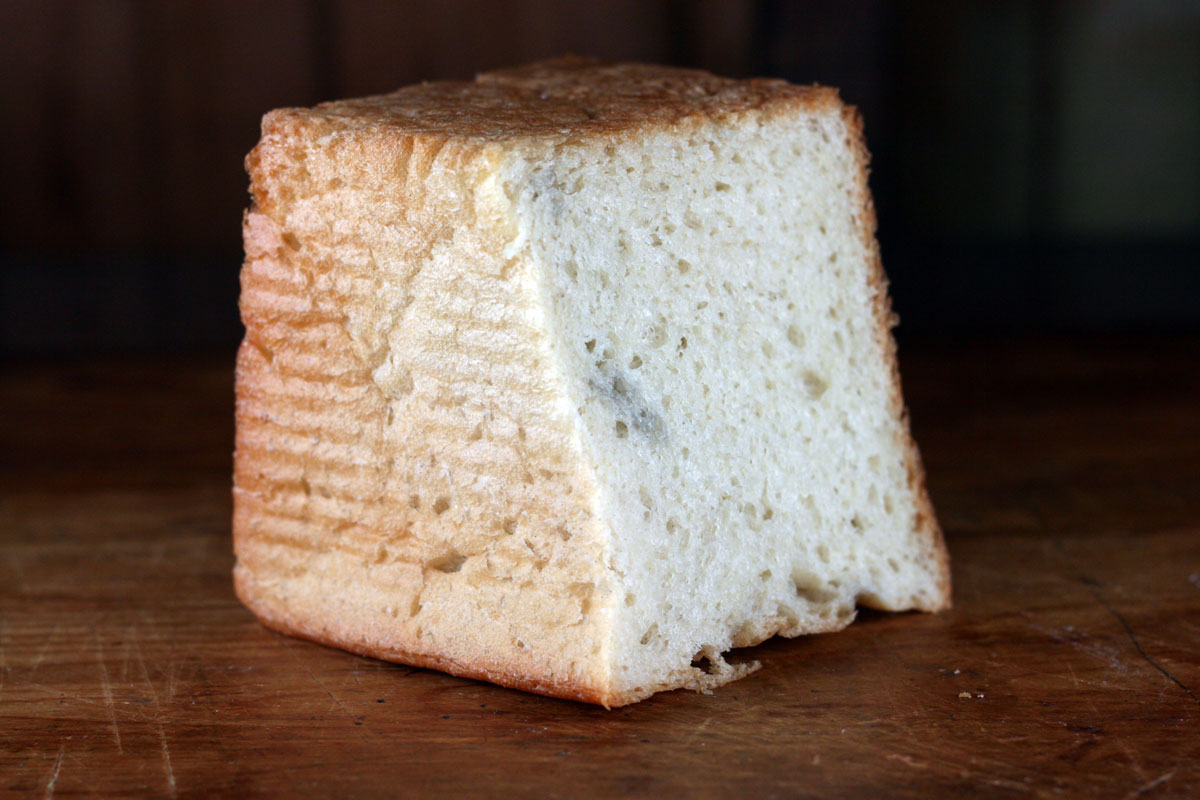
Typical shape of bread baked in bread machine. © CooksInfo / 2016
The advantage of using bread machines (compared to stand mixers) as a dough machine is that their engines are purpose-made for the heavier work of handling bread doughs, and the inside of the bread machine can act as a warmed proofing box.
Some have a few choices of dough cycles. When the rise is complete (a chime or buzzer will usually go off), you remove the dough from the bread and work with it as required. Some bread machine models do a rise, then a punch down, then a second rise. You may find with these models that with some recipes, you want to remove the dough after the punch down, and let the second rise occur to the shaped dough outside the machine.
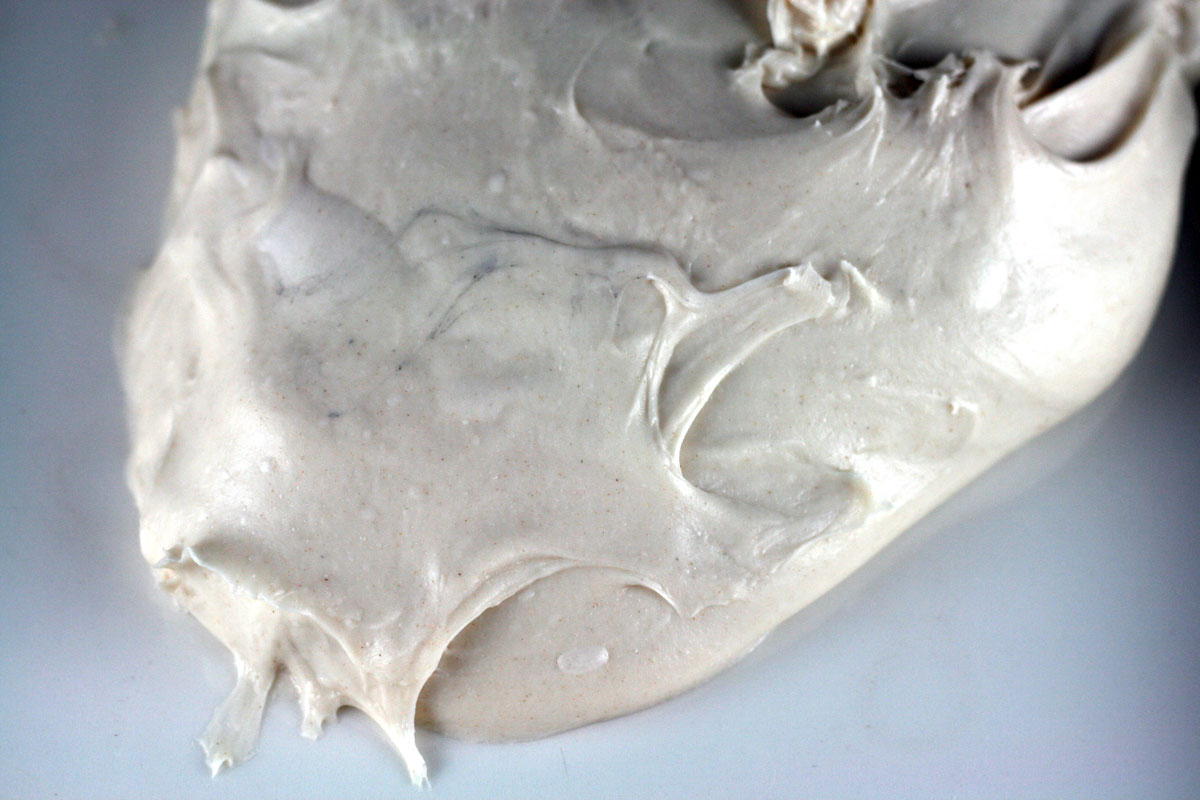
You can open your bread machine to check on the dough while the dough is being kneaded. If the dough is looking a little dry during a mixing cycle, add a teaspoon or so at a time of warm water, seeing how the dough takes it up. Do this while it is still mixing and able to mix the water in. Water requirements in bread dough will always vary slightly depending on how aged the flour is, the humidity of the day, etc.
The major difference between dough made in a bread machine and dough made by hand is that when doing something with dough made by hand, you flour your work top. However, dough comes out of the bread machine already mixed beautifully, and (usually) having had its first rise, and dough that’s come that far isn’t going to take much more flour in.
When you take it out of the bread machine, knead it a bit (to “punch it down”.) If you have time, some advise to let it rest after that for about five minutes, but most don’t, and it doesn’t seem to make any noticeable difference.
When you have finished shaping your dough into the desired products (rolls, bread etc), cover them with a light, smooth cotton tea towel (not a waffle-textured one, or a terry-towel one – the dough will adhere to them.)
Let your shaped dough rise the required amount of time, depending on your recipe and bake in the oven according to your recipe.
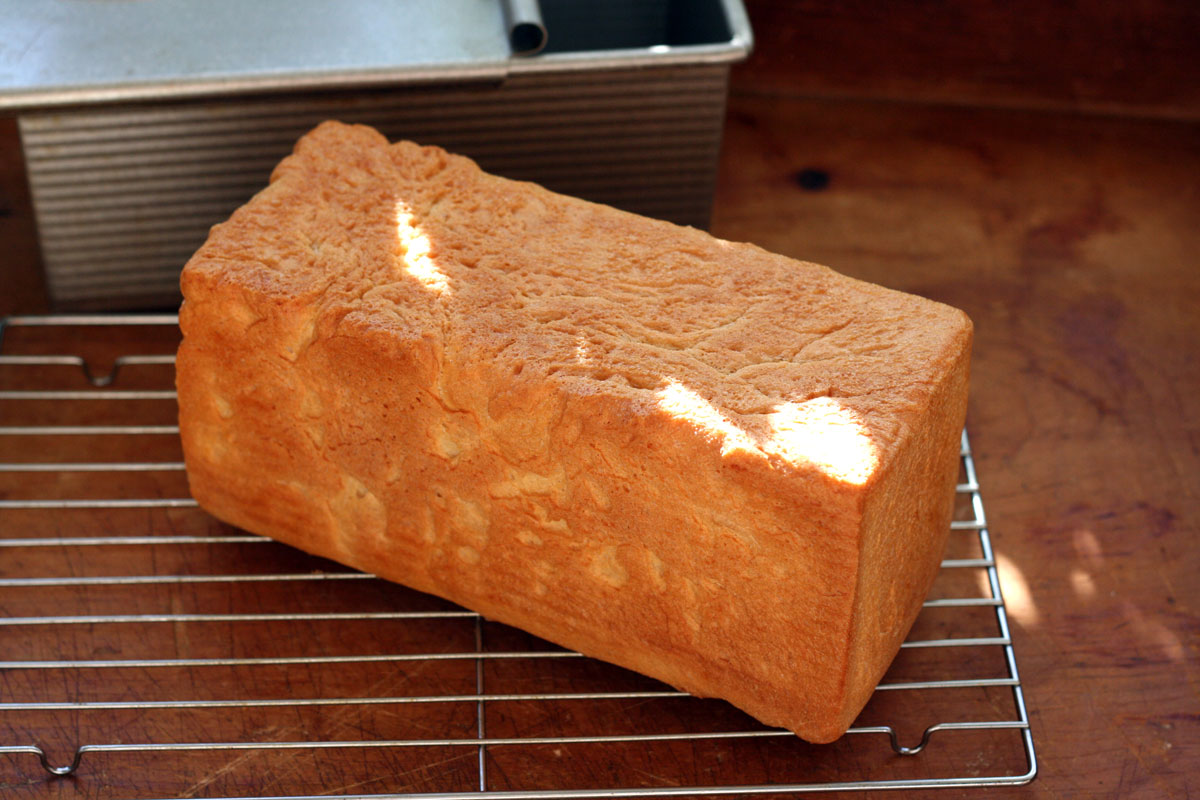
Bread made in bread machine but oven-baked outside the machine in a bread pan. © CooksInfo / 2016
The hole issue
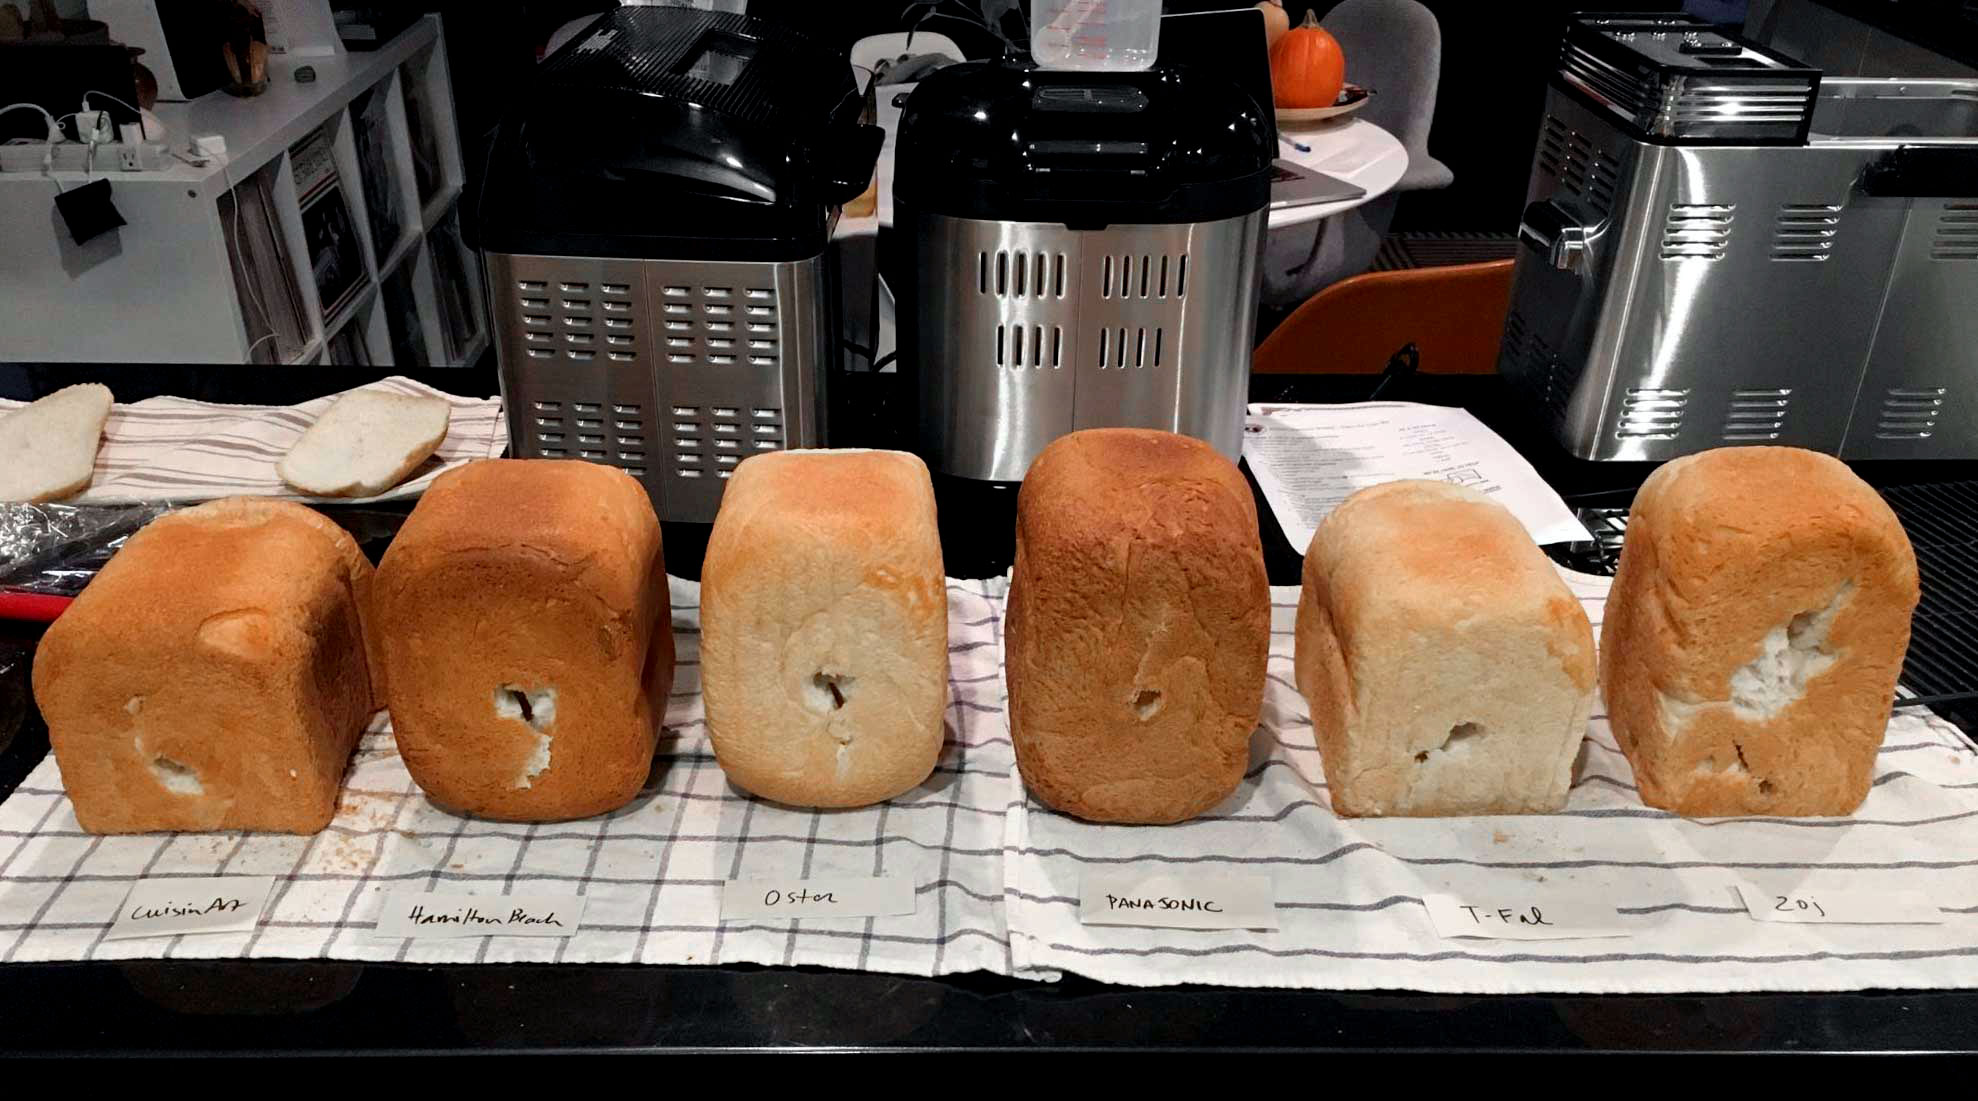
Holes in bottom of loaves of bread from various models of bread machines. www.yourbestdigs.com / flickr / 2018
The elephant in the room with all bread machine models is the hole that their paddles leave in the bottoms of the loaves of bread.
The holes tend to make any slices cut from the middle of the loaves a write-off for sandwiches, because it means irregular bread edges on those slices allowing the sandwich fillings to fall out.
The paddles are designed to be no-stick, allowing bread loaves in theory to slide right off the paddle with minimal impact on the loaf aside from the shape where the paddle was. However, loaves can often randomly stick anyway, requiring rigorous shaking to loosen the loaf. This essentially tears the bread away from the paddle, leaving a bigger hole in the bread.
One bread machine user site gives the following advice to help mitigate the issue:
“If you want to prevent the large holes that one gets from the paddle(s)
in your machine simply wait until the final rise of the cycle has
started, remove the dough from the pan, remove the kneading paddle(s) and
then spray the post(s) with pan spray. Shape the dough and place it back
in the pan, seam side down and allow the machine to finish. This will give
you a loaf with very small hole(s) in the bottom.” [4]”Crusty Italian Bread. Accessed November 2019 at
http://www.breadmachinedigest.com/recipes/loaf-recipes/crusty-italian-bread.php
Some bread machine makers have experimented with a folding paddle that is meant to automatically fold itself flat out of the way after kneading is finished. One issue users report is that the paddles don’t succeed in folding flat all the time. Another is that the paddles seem to fit less snugly and sometimes fly off during mixing.
Folding bread machine paddle. © CooksInfo / 2016
Folding bread machine paddle come loose. © CooksInfo / 2016
The black oil issue
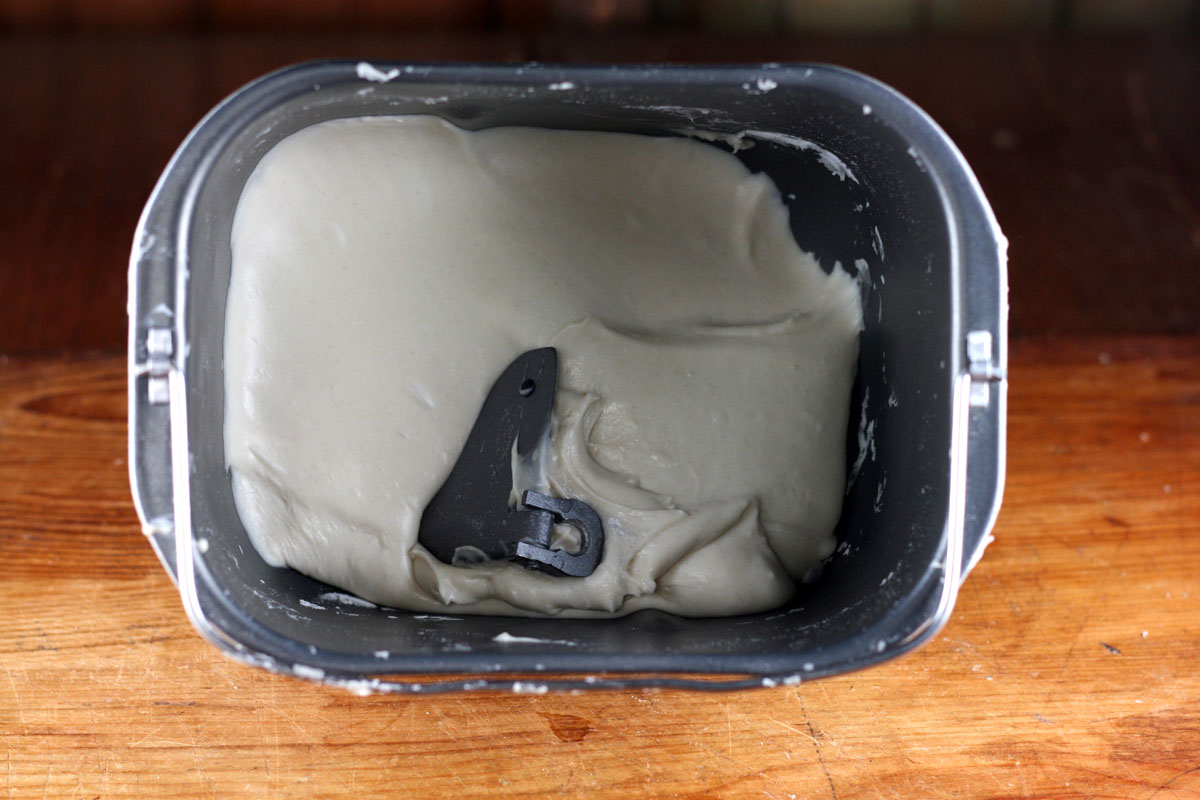
An issue that is rarely discussed is that of black oil rising up from the shaft at the bottom of the bread pan.
It can cause streaks of black in your bread dough. If you happen to notice it, and it has stayed mostly in one place, you could pinch out the black with your fingers. Sometimes, though, it will be marbled throughout the dough.
Black oil in bread machine dough. © CooksInfo / 2016
And other times, you won’t notice it at all until the bread is baked and sliced.
For some people, the issue occurs only once in a while. For other people, once it starts with their bread pan, it does not go away until a new pan is procured:
“If you are getting grease stains in your bread, the seal around the drive shaft of your bread pan is leaking. It might be better to buy a replacement pan.” [5]Comment from user Dave P. September 8th, 2014. Bread Machine Maintenance. Accessed November 2019 at http://www.breadmachinedigest.com/tips/bread-machine-maintenance.php
Many users report that if their machine is relatively new, the manufacturers usually ship them a free replacement bread pan. The issue appears to be common enough that common service representatives have set procedures for it already when you phone.
We have no information at this time as to whether there are any noteworthy food safety issues with the minute quantities of oil involved here.
Spots of black oil baked into bread. © CooksInfo / 2016
Non-iodized salt can improve bread dough performance
Use non-iodized salt if you can in a bread machine. Iodine hurts yeast activity.
If you are using non-iodized salt, you will find that you can get better results out of ordinary dry yeast without having to pay for bread machine dry yeast, and you’ll find over time in many recipes that you can use also less yeast (helping to reduce your cost per loaf.)
Many North American recipes call for 1 ½ or even 2 or more teaspoons of yeast, quite possibly to compensate for the use of iodized table salt. If you use non-iodized salt, you’ll find that in many of these recipes you actually can cut the yeast back by ½ teaspoon at least and not notice any difference.
Converting manual recipes to bread machine recipes
The biggest hurdle to overcome in converting a manual recipe to a bread machine recipe is that with manual bread recipes, you can work in flour as you go. With bread machines, all your ingredients in the right quantities have to go in at once.
It may take you a few attempts at conversion to make a transition that you are happy with. Make notes as you go along on what you did each time to allow for adjustments later. Make sure that your bread machine can handle the amount of flour that will be needed. In general, if a machine can handle the following weights of bread, it can handle the corresponding number cups of dry ingredients.
| Max flour | Max yeast | |
|---|---|---|
| 1-pound (450 g) | 2 to 2 ½ cups | 1 to 1 ½ tsp |
| 1 ½-pound (675 g) | 3 to 3 ½ cups | 1 ½ to 2 tsp |
| 2-pound (900 g) | 4 to 4 ½ cups | 1 ½ to 2 ½ tsp |
To start, if your manual bread recipe gives a range of flour (e.g. 4 to 4 ½ cups), use the lower amount. By whatever amount you reduce the flour, reduce the other ingredients proportionately, especially the liquid.
If you need to reduce the flour by a trickier ratio such as ⅛, just reduce everything by something easier to calculate such as ¼.
As the dough is being made in the machine the first time out, have handy extra flour to add to get the look and feel of it right while it is mixing, and don’t forget to measure and note how much extra you are adding. Check the dough five minutes after the mixing starts. It should be a smooth, slightly tacky ball forming around the paddle. If it’s sticky or soft, you need more flour: if it appears really stiff or if the paddle is really labouring, it needs additional liquid a teaspoon at a time, and don’t forget to write down your additions!
Note the maximum yeast amounts in the table above. Yeast in bread machines tends to be a far happier camper than outside of bread machines, as it is in an ideal temperature and humidity environment. So, depending on the recipe, you may not need as much as you did in manual recipes.
Your manual recipe will probably have you dissolve the yeast in water first. Don’t do that when converting to a bread machine, and don’t forget the golden rule about yeast on the top of the other dry goods, well away from the liquids.
In manual recipes, you may have added items such as raisins or olives somewhere at the start of the process: with bread machines, don’t add these things until later (if your machine has a raisin beep, add them then.) The first phase of kneading in bread machines is quite rough and may simply purée or shred your special ingredients.
Expect to need a few refinement trials while converting the recipe before you get it perfect. It can be a good idea to make only “one improvement” at a time, so that if it doesn’t work, you know what it was. It is also helpful to compare your manual recipe with a bread machine recipe that seems close, to act as kind of a guideline.
If you are doing whole grain recipes and want more rise out of them, remember that whole grain is not only lower in gluten than white flour, but that the grains cut through the gluten strands that do develop. To compensate for using whole grain flour, add a teaspoon of gluten flour per cup of whole grain flour.
If you are struggling, it can be easiest to aim for creating a dough that works when you remove it from the bread machine after the dough cycle, and let rise and bake in a regular bread pan outside the machine.
Much older recipes called for liquid milk to be scalded. This served two purposes: (1) to make the milk safe, as it would have been raw, unpasteurized milk they were using; and (2) to deactivate an enzyme in the milk which could inhibit the yeast. This step is not necessary to bring forward with today’s pasteurized milk.
Fluid milk in older recipes can be transitioned to powdered milk. A standard conversion rate is 4 tablespoons of powdered milk plus 1 cup (250 ml / 8 oz) water.
In this fashion, you can transition a hand-me-down family bread recipe to have a new life with the new tools now available. You may find you end up making the old family bread more often.
For more conversion discussion, see Converting Handmade Recipes over on the Bread Machine Digest web site (link valid as of December 2019.)
Cooking Tips
Machines have different loading instructions for the ingredients, but many long-time bread machine users who have been through several machines say they just do the following:
- first, all liquids or soft ingredients (applesauce, fats, etc);
- secondly, all dry ingredients;
- lastly, yeast on top.
Some bread machine writers advise to melt any fat such as butter, margarine or shortening in the microwave first, but most people seem to say they never bother, and haven’t noticed any difference.
As tempting as it may be to use the timer feature to have fresh-baked bread waiting for you when you come home from work, some people advise to not leave a working bread machine unattended. Unexpected problems such as a paddle seizing could happen, either because the dough is too stiff or because of mechanical issues, causing the machine to overheat. Anecdotal house fires have occurred in these instances.
Gifting bread machines
Some people advise never to give anyone a bread machine unless they ask for one. Gifted bread machines often live buried at the back of bottom cupboards or up in the attic, until they are brought out for yard sales. Unless someone asks for one, they say, this is a tool that it is better to let people buy themselves.
References
| ↑1 | Nubie, Steve. Zojirushi BB-CEC20 Bread Maker. 30 March 2015. Accessed January 2020 at https://www.breadmakermachines.com/zojirushi-bb-cec20-bread-maker-full-review/ |
|---|---|
| ↑2 | Choosing a Bread Machine. Accessed January 2020 from https://www.breadmachinedigest.com/beginners/choosing-a-bread-machine.php |
| ↑3 | Ibid. |
| ↑4 | ”Crusty Italian Bread. Accessed November 2019 at http://www.breadmachinedigest.com/recipes/loaf-recipes/crusty-italian-bread.php |
| ↑5 | Comment from user Dave P. September 8th, 2014. Bread Machine Maintenance. Accessed November 2019 at http://www.breadmachinedigest.com/tips/bread-machine-maintenance.php |