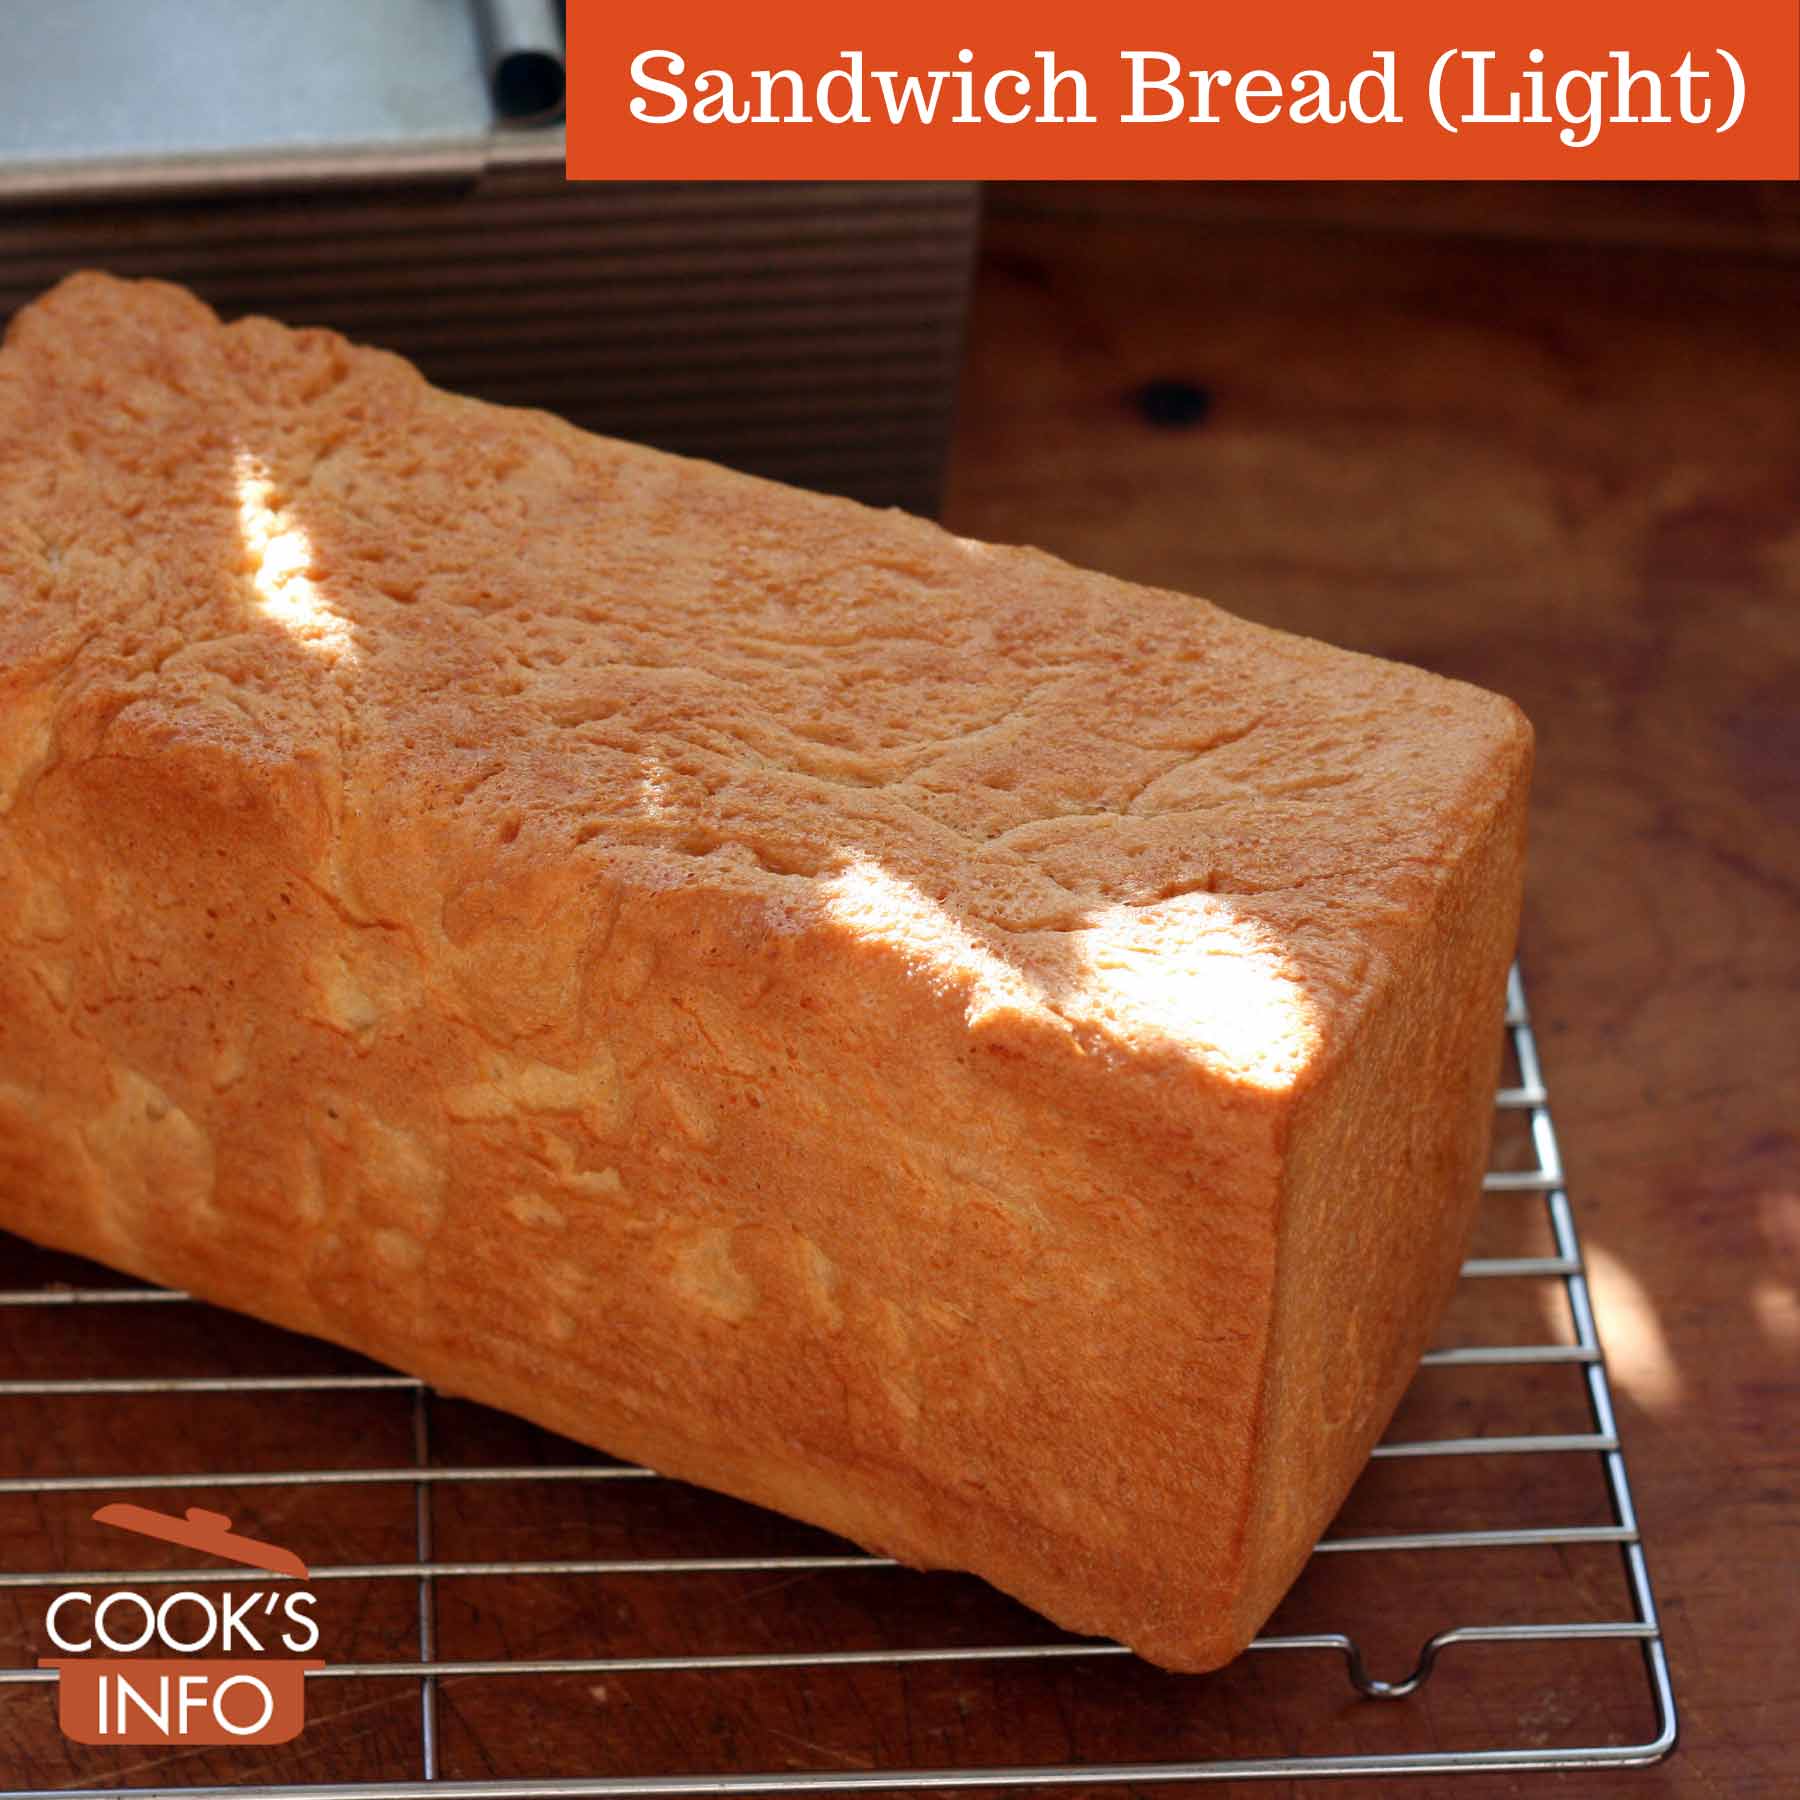
Light sandwich bread. ©CooksInfo / 2013
Sometimes, you just want a slice of home-baked, plain old-fashioned sandwich bread.
This recipe is very easy to make, and just happens to be low in fat, salt and sugar, coming in at just 56 calories per slice. Commercial breads that are that low in calories achieve it by selling you a slice of air, practically: this is proper, dense, home made sandwich bread that you can make proper sandwiches and toast with.
You need a bread machine or stand mixer.
To turn this recipe into a DIY bread mix you can store for even easier loaves of bread, see: Bread Machine Mix DIY
This makes a loaf approximately 1 pound / 500 g in weight.
Sandwich Bread (Light)
Ingredients
- 1 cup Water
- 2 tablespoons Powdered Milk
- ¼ teaspoon Salt
- ¾ teaspoon Sugar
- 2 teaspoons Butter
- 2 cups Flour (all white or up to 50% whole wheat or spelt)
- 2 tablespoons Gluten Flour (optional)
- 1 teaspoon Yeast
Instructions
- Wash hands with soap and water. Ensure worksurface is clean.
- Put ingredients in bread machine pan or stand mixer bowl in order listed. Put bread machine on dough cycle.
- Meanwhile, lightly spray a bread pan with cooking spray, not forgetting the underside of the top lid if using a Pullman pan. Set aside.
- Clean any counters where raw flour may have spilled, and wash any utensils that came into contact with it.
- Check on the mixer after about 4 to 5 minutes of activity. If your flour has been stored a while, either at your house or the store, it may have gone somewhat dry and want a few more tablespoons of water. If so, add a tablespoon at a time and see if the dough takes it up. Too dry a dough will prevent a good rise on the bread.
- When the bread dough is finished mixing completely, let it rise in the bread machine and go through first punch down, and then pull the dough out. If using stand mixer, let rise in mixer bowl for 30 to 40 minutes, then pull the dough out.
- Place in the prepared bread pan. (If using a Pullman pan, place the cover ¾ on.) Cover with a tea towel to help stop dough from drying out, which would impede rise. Check after 30 to 60 minutes and every 10 minutes or so after that. When the dough has risen about ⅞th of the way to the lid if using a Pullman pan, heat the oven to 175 C (350 F).
- Close the lid carefully if using a Pullman pan, put the bread pan into the oven and set a timer for 40 minutes.
- At the end of this, using hot mitts, remove from oven. Turn immediately out of bread pan onto bread rack to cool.
Notes
Directions in this recipe follow the Safe Recipe Style Guide .
History
This recipe is based on a depression-era recipe, when things such as cooking fats, sugar and salt were expensive and therefore used with a light hand. This just happens to also make the recipe healthier than ones formulated in the following decades when those ingredients were used with greater abandon.
Sandwich loaf shape
To get a proper sandwich loaf shape you need a Pullman bread loaf pan that is 9″L × 4″W × 4″D (22 cm x 10 cm x 10 cm.) The Pullman pan ensures evenness of slices, as well as giving the bread a satisfyingly crispy crust, but of course any bread pan will do.
Family size larger version
Here are the proportions for a longer Pullman pan 13 inches x 4 inches x 4 inches (33 cm x 10 cm x 10 cm) making a loaf approximately 2 pounds / 1 kg in weight. All the same directions above apply.
1 ½ cup water (lukewarm)
2 tablespoons Powdered Milk
1 tablespoon low-calorie margarine
1 teaspoon Sugar
¼ teaspoon Salt
3 ¾ cups Flour
4 tablespoons gluten flour (optional)
1 teaspoon Yeast
Hold back on a bit of the water, and watch the machine in the first few minutes of mixing. If your flour has been stored a while, it may have gone somewhat dry and need it all, or even want a few more tablespoons of water. You don’t want a super, tight, dry dough, or you won’t get a good rise. You can use up to 50% whole wheat with no impact on recipe.
Nutrition Notes
Nutrition information is for bread sliced in 20 slices that are 1 cm (.4 inches) thick. It’s really not feasible to try to slice it any thinner. Per slice, 56 calories. (For the family-sized loaf, cut slices the same thickness and the same nutritional info per slice will apply.)

* Nutrition info provided by http://caloriecount.about.com
Weight Watchers® PointsPlus™: 3 points for 2 slices
* Weight Watchers Points™ calculated by CooksInfo.com. Not endorsed by Weight Watchers® International, Inc, which is the owner of the Points® registered trademarks.